I have reached my target of having a moving tail before uni starts, and with a week to spare so now I have to decide what to do next!
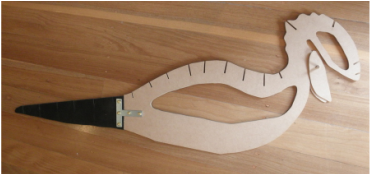
dragon's spine with *new* tail
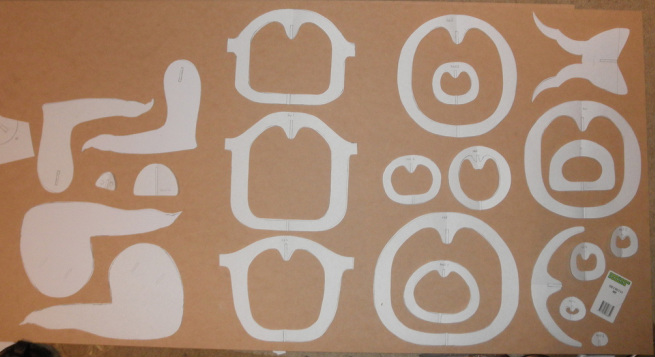
After talking about it with dad, I decided that rather than using a chain of seperate servos to move the tail, I could use just one at the base of the tail to move the whole thing. To make it curve I needed a more flexible material than MDF. In order to make it possible to change between the existing MDF spine and the new material, I decided that it would be great if the new material could also be 6mm thick. To get the flexibility at this thickness I chose to use strip rubber, which is very flexible but has enough strength at 6mm to avoid collapsing on itself. This did mean cutting the tail off the dragon, but replacing it was very easy with a couple of joining plates and bolts.
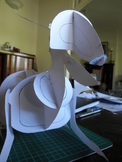
The tail is manipulated by a string attached to the servo, which passes through a series of hooks before reaching the tip of the tail. So far the tail can only wave one way - I have to buy another servo to manipulate the tail in the opposite direction, but it will operate in exactly the same way.
The tail is manipulated by a string attached to the servo, which passes through a series of hooks before reaching the tip of the tail. So far the tail can only wave one way - I have to buy another servo to manipulate the tail in the opposite direction, but it will operate in exactly the same way.
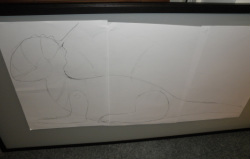
The base of the tail tends to get stuck on the table - it works better on a flat surface, but I will still need to smooth the bottom of the rubber as it has far too much friction and bends towards the table too much.


 RSS Feed
